 NAPS2 - Windows Scanning


The latest version of NAPS2 works with Windows 10 and 11.


The last version of NAPS2 that supports Windows 7/8/8.1 is 7.5.3.
The last versions of NAPS2 that support Windows XP (SP3) are 6.1.2 and 5.8.2.
On Windows 7 and earlier, you may need to install the .NET Framework 4.6.2 or later.
Download the NAPS2 installer from the download page. Using the .exe installer is recommended, but you can use the .msi installer for Organization Use or the .zip as a portable archive.
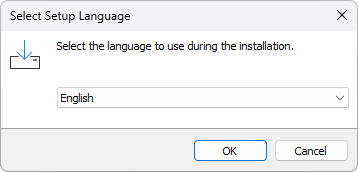
Assuming you've downloaded the .exe installer, click on it to run. Then select the language you want to use in the installation.
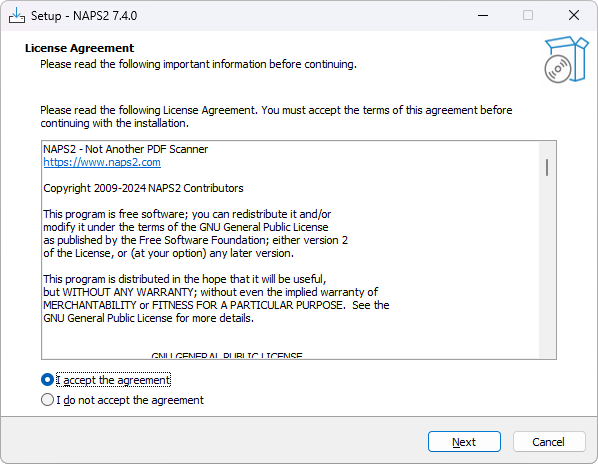
Accept the license agreement.
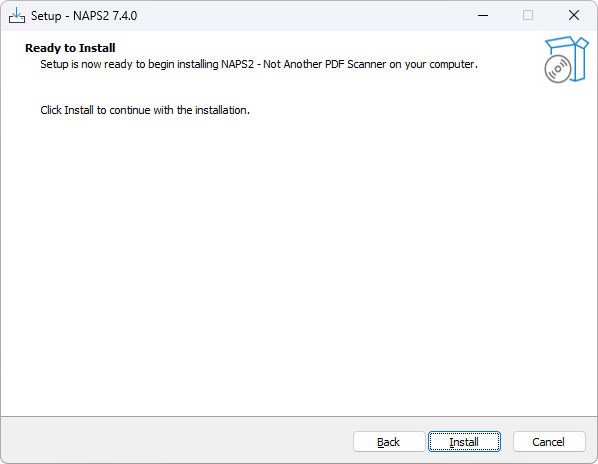
Click through and press the "Install" button.
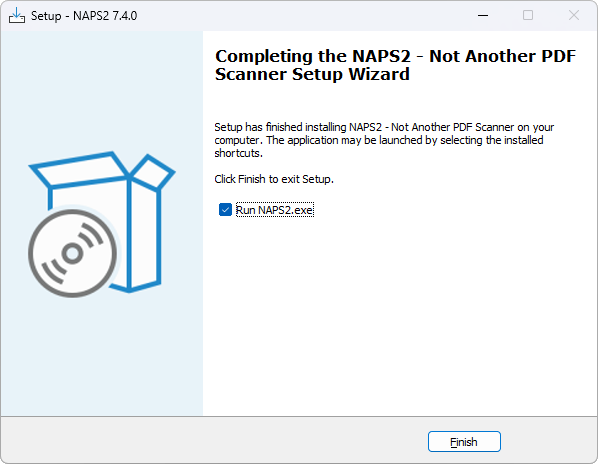
Wait for the installation to complete. Then click "Finish" to start NAPS2.
To do your first scan, press the "Scan" button.

As this is your first scan, you will be prompted to create a profile. Profiles include the settings for your scan (device, page size, resolution, etc.). To create new profiles later you can click the "Profiles" button on the toolbar.
Click the "Choose device" button to select your scanner.
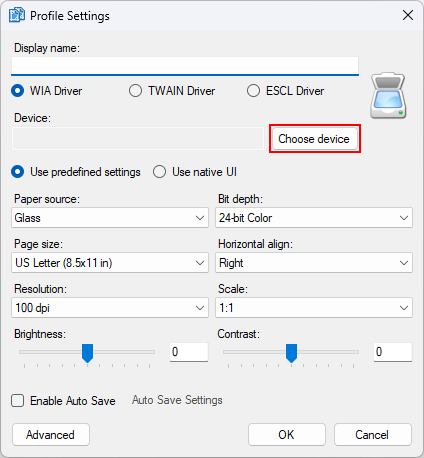
If it doesn't show up, you can trying switching between "WIA Driver", "TWAIN Driver", and "ESCL Driver".
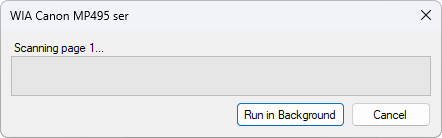
Once you've selected your device and picked the settings you want, click "OK" and scanning will start.
Once scanning is done your scanned page should appear. Then you can click the Save PDF button and pick a location and file name to save.
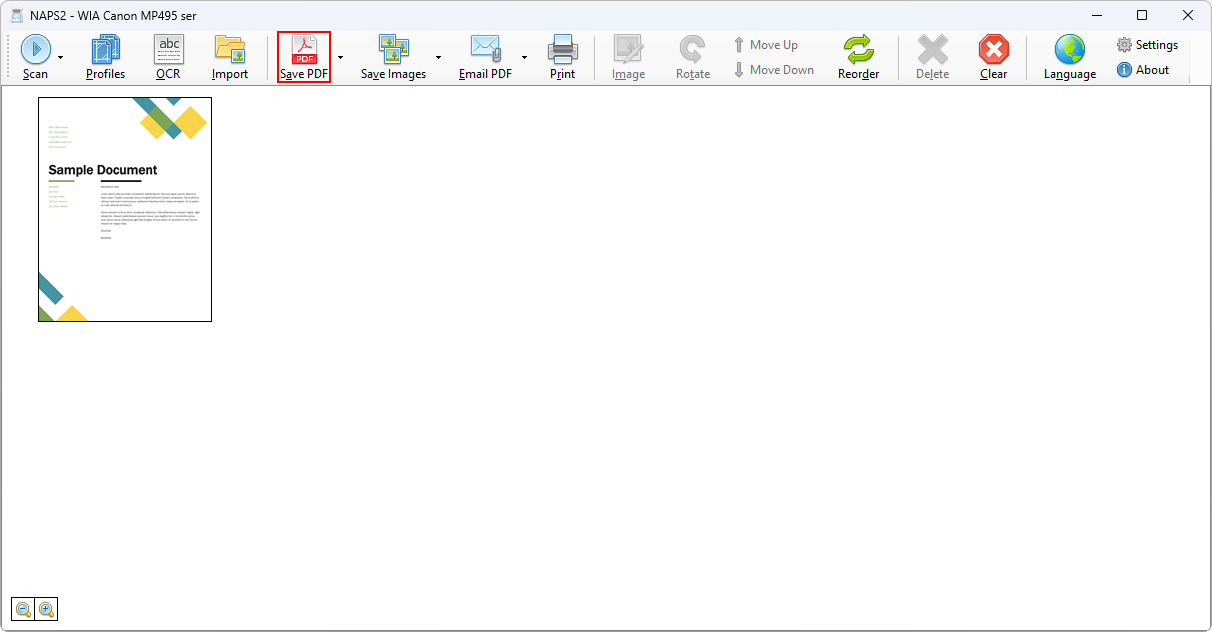
You can also press "Scan" again to keep scanning more pages. This will use the same profile you created before.
 naps2-8.2.1-win-x64.exe